Preview window
The Preview window presents an unobtrusive pop-up notification and information summary when a call is made or received. It offers call control and additional actions such as open contact data or write to activity log, depending on user, device and integration configuration:
The Preview window is hidden after 10 seconds by default (this can be changed in Configuration > Interface). Hover the mouse over the Go Integrator status indicator icon to display the Preview window again.
Positioning
The Preview window can be re-positioned to snap to any quarter of the screen.
Drag the Preview window by the header and drop into the desired quadrant:
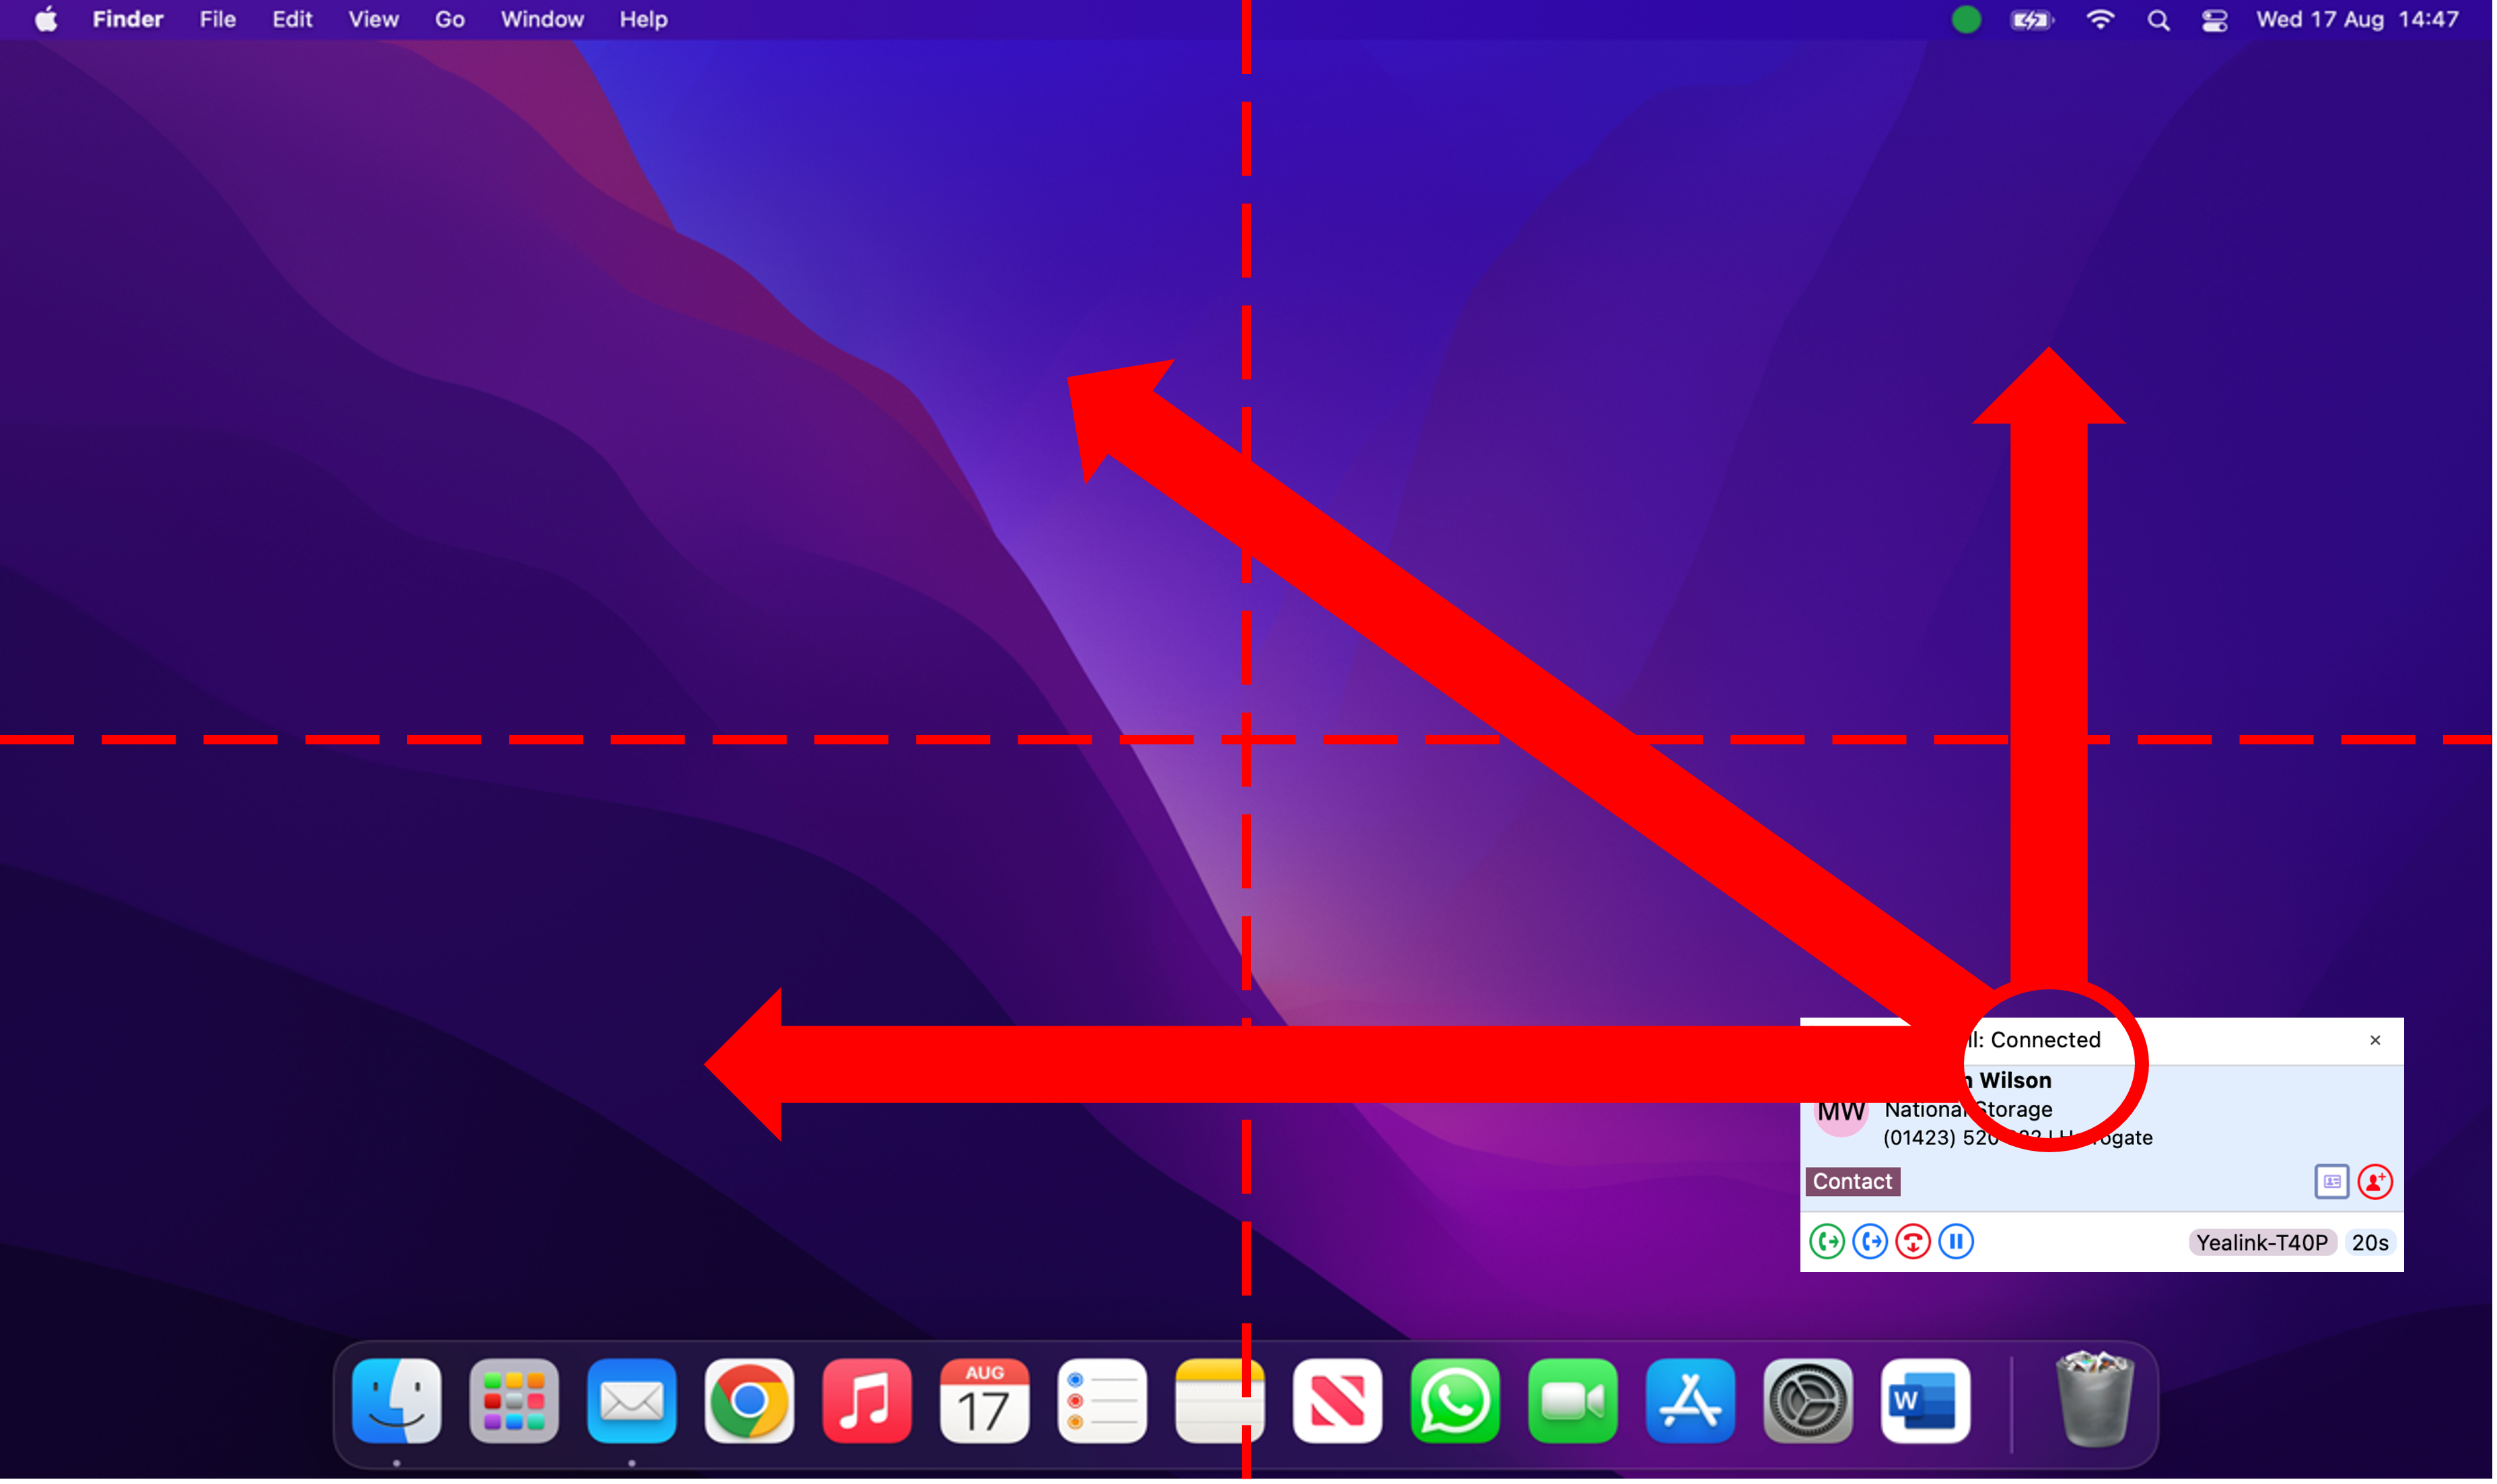
*Note: The Preview window will snap to a fixed position in one quarter of the screen.
Preview information
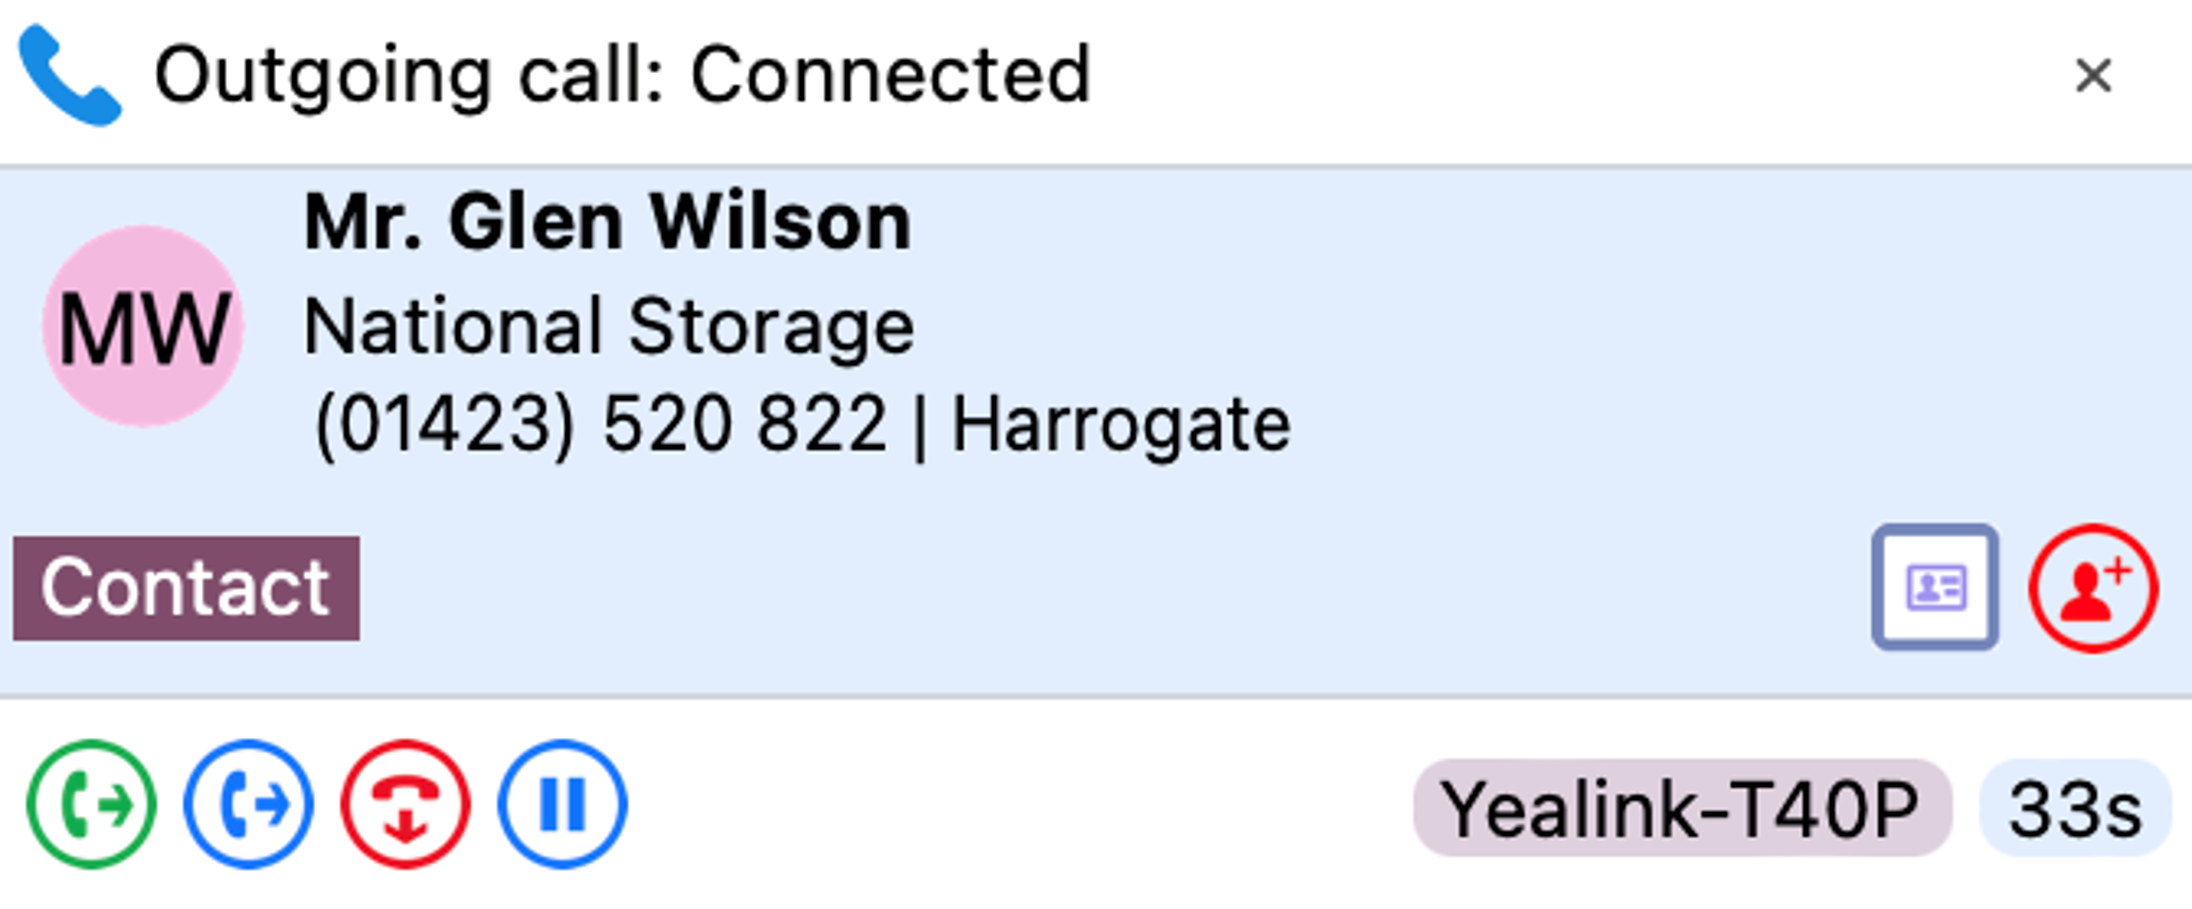
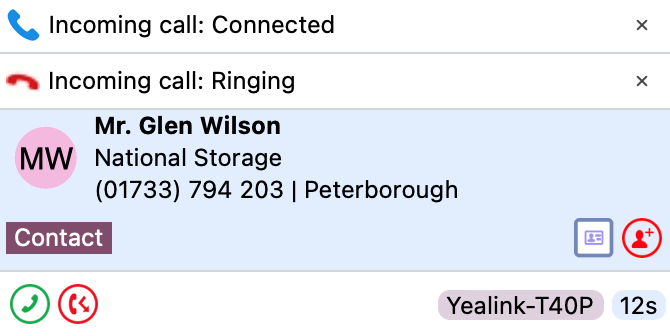
The Preview window can display contact name, company name, telephone number and location (if available) along with additional notes, all retrieved from any integrated address book or business CRM integration. Additionally, the Preview window displays the connected device name in use and the duration of the call.
The Preview window provides both call control action buttons as well as contact or CRM integration action buttons.
Call Control and Actions
The following actions and controls are available from the Preview Window when a call is in progress but depending on the device in use and the address book or business CRM integrations available:
|
|
Answer Deflect |
When a call is ringing, you can choose to answer the call by clicking the "Answer" button or deflecting it (transfer it without answering it) to another extension. |
|
|
Hang Up | End the call |
|
|
Hold/Resume | Pause/Resume the call - the caller will hear hold music if available |
|
|
Consult | Place the current call on hold and transfer the call to another extension |
|
|
Transfer | Blind transfer to another extension without introduction |
|
|
Complete Transfer | Connect the original call to the transfer destination recipient and disconnect |
|
|
Cancel Transfer | Cancel the call to the transfer recipient and return to the original call |
|
|
Call Pickup | Answer call ringing at another member of your pickup group |
|
|
Show Contact | Shows the full contact details, obtained from the Netsapiens directory |
|
|
Add Contact | Add the caller to the shared address book or integrated CRM business applications |
|
|
Open/Pop Contact | Open the full contact details within an integrated CRM business application. The icon shown will relate to the CRM application (e.g. Google, Salesforce) and also the type of entry: Contact, Account or Lead. |
|
|
Create and Show Call Task | Creates and opens a call activity (call log) in an integrated CRM business application. The icon shown will relate to the CRM application (e.g. Salesforce, Dynamics) |
Note: The hold button is not utilized for transferring calls.
Answer and Deflect
An incoming call can be answered or deflected, depending on the device type in use.
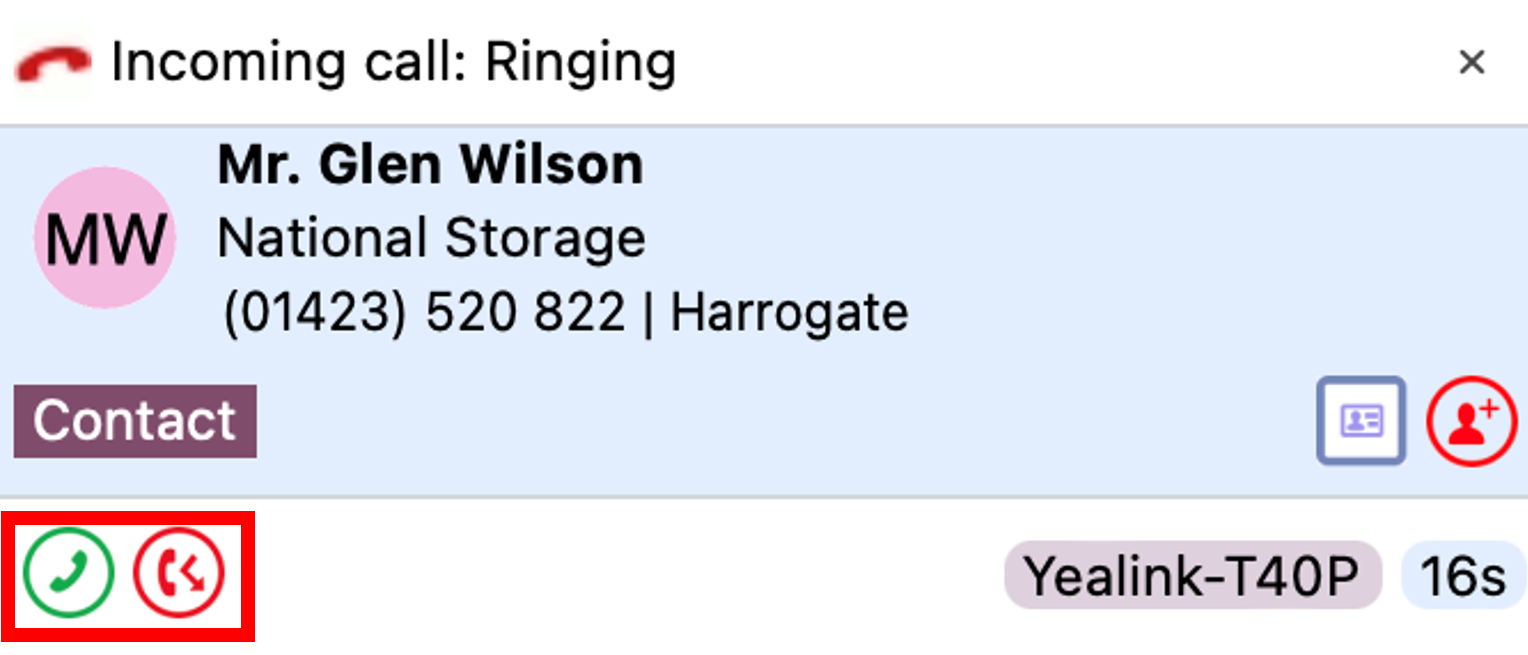
Click the "Answer" button to connect the incoming call to your preferred device:
![]()
Click the "Deflect" button to enter the destination to redirect the call to without answering:
![]()
After the Deflect button is clicked, the number entry box appears.
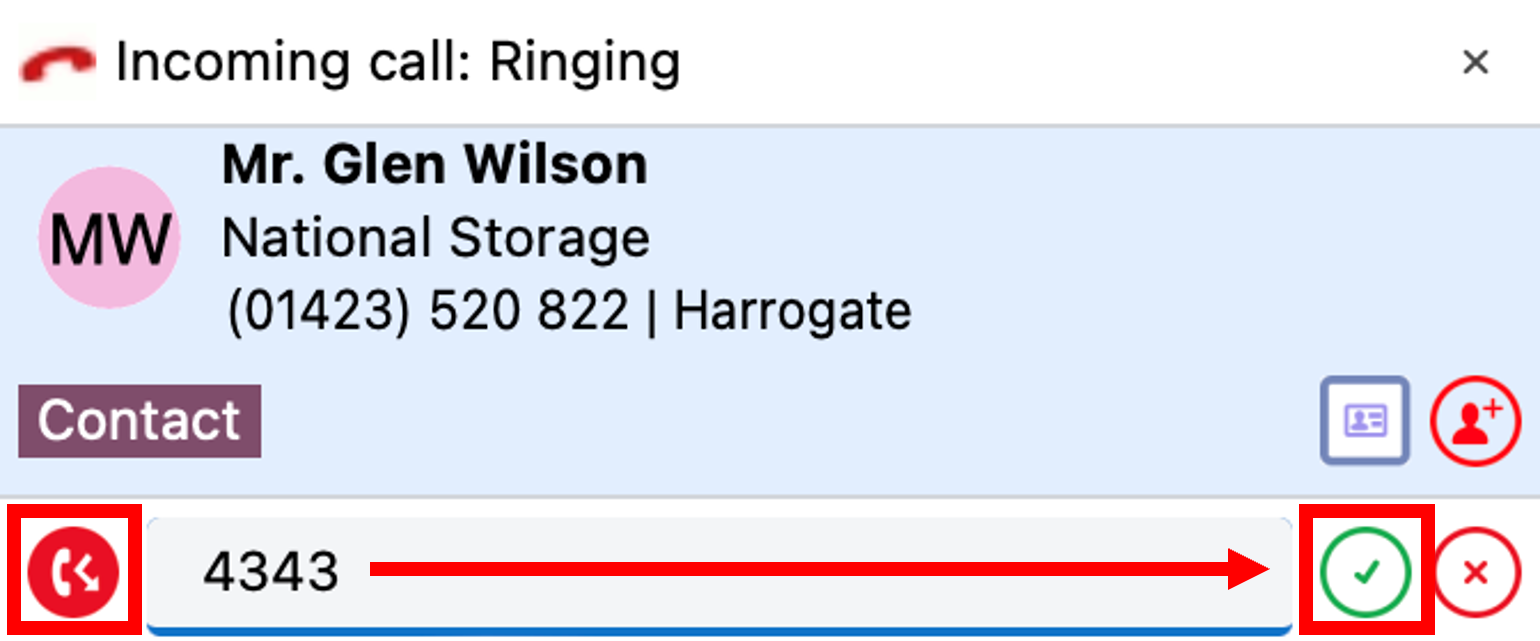
Enter the extension or external telephone number to deflect the call to and then click:
![]()
To deflect the call or to cancel the deflection click:
![]()
Hold and Hangup
A connected call can be held, transferred or disconnected, depending on the device type in use.
Click the "Pause" button to place the current connected call on hold:
![]()
(caller hears hold music if enabled in telephone system).
Click the "Play" button to retrieve the held call:
![]()
Click the "Hangup" button to end the call and disconnect the other party:
![]()
Transfer
Calls can be transferred with either a "consult" introduction to the transfer target destination, or "blind" without any introduction.
Blind Transfer
To transfer the call without an introduction, click the "Transfer" button:
![]()
Enter the transfer target telephone number into the dial entry box:
![]()
Click the "confirm" button to transfer the call to the target recipient:
![]()
Or click the cancel button to return to the call without transferring:
![]()
Consult Transfer
To transfer the call with an introduction, click the "Consult" button:
![]()
Enter the transfer target telephone number into the dial entry box:
![]()
Click the "confirm" button to place the current call on hold and call the target recipient:
![]()
Or click the cancel button to return to the call without transferring:
![]()
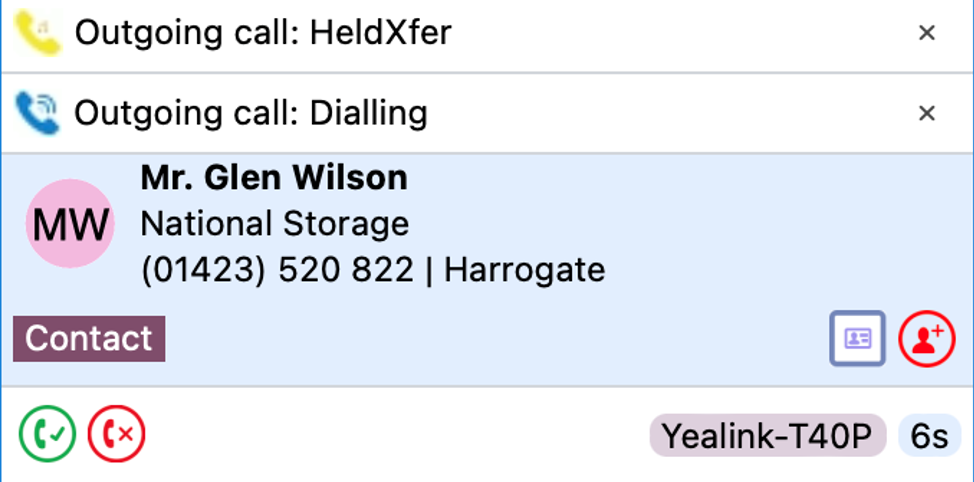
The Preview window now shows the original call in "HeldXfer" state and a new, overlapping Preview window for the outbound transfer destination. The Preview window header can be clicked to switch the display between the two parties (this does not switch the call between the connected parties, only the display window).
Click the "Complete transfer" button to connect the two parties and disconnect from the call:
![]()
Or click the "Cancel transfer" button to disconnect the outbound call and return to the original call without transferring:
![]()
Outgoing Calls
The Preview window appears for both inbound and outbound calls.
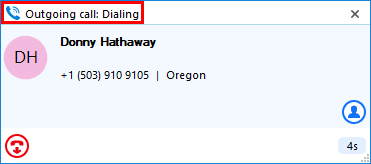
Initially the call status will be "Dialing".

The other information and icons displayed will depend on whether the telephone number is already found within any address books or integrated CRM applications and which device is used to make the outgoing call.
Once answered and "Connected", the Preview window will offer call handling buttons, dependent on the device used to make the outgoing call.
With some device types, the outgoing call may need an initial "Dialback" to be answered first before the external call is attempted:
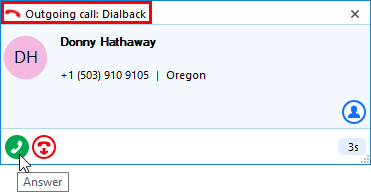
Click "Answer" from the "Dialback" prompt to allow the outgoing call to the external party:
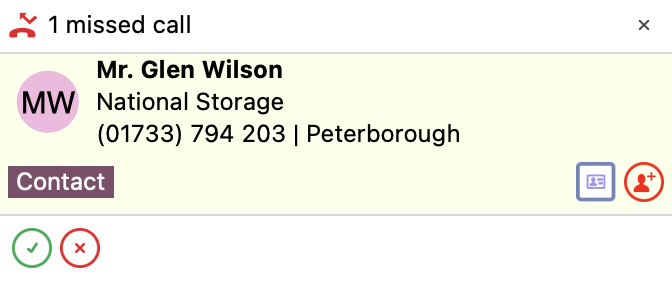
Missed Calls Notification
If a call is presented but the caller abandons before being answered, the Missed Call notification window is displayed and remains on screen until acknowledged or actioned.
Add Contact
![]()
When the call Preview window displays a call that is not yet found in any integrated address book (or is found in some but not all integrated address books) the Add Contact icon is displayed. This offers a quick method to insert the contact details into multiple locations.
Entry not found in any address book:
Entry found in all address books except PPL:
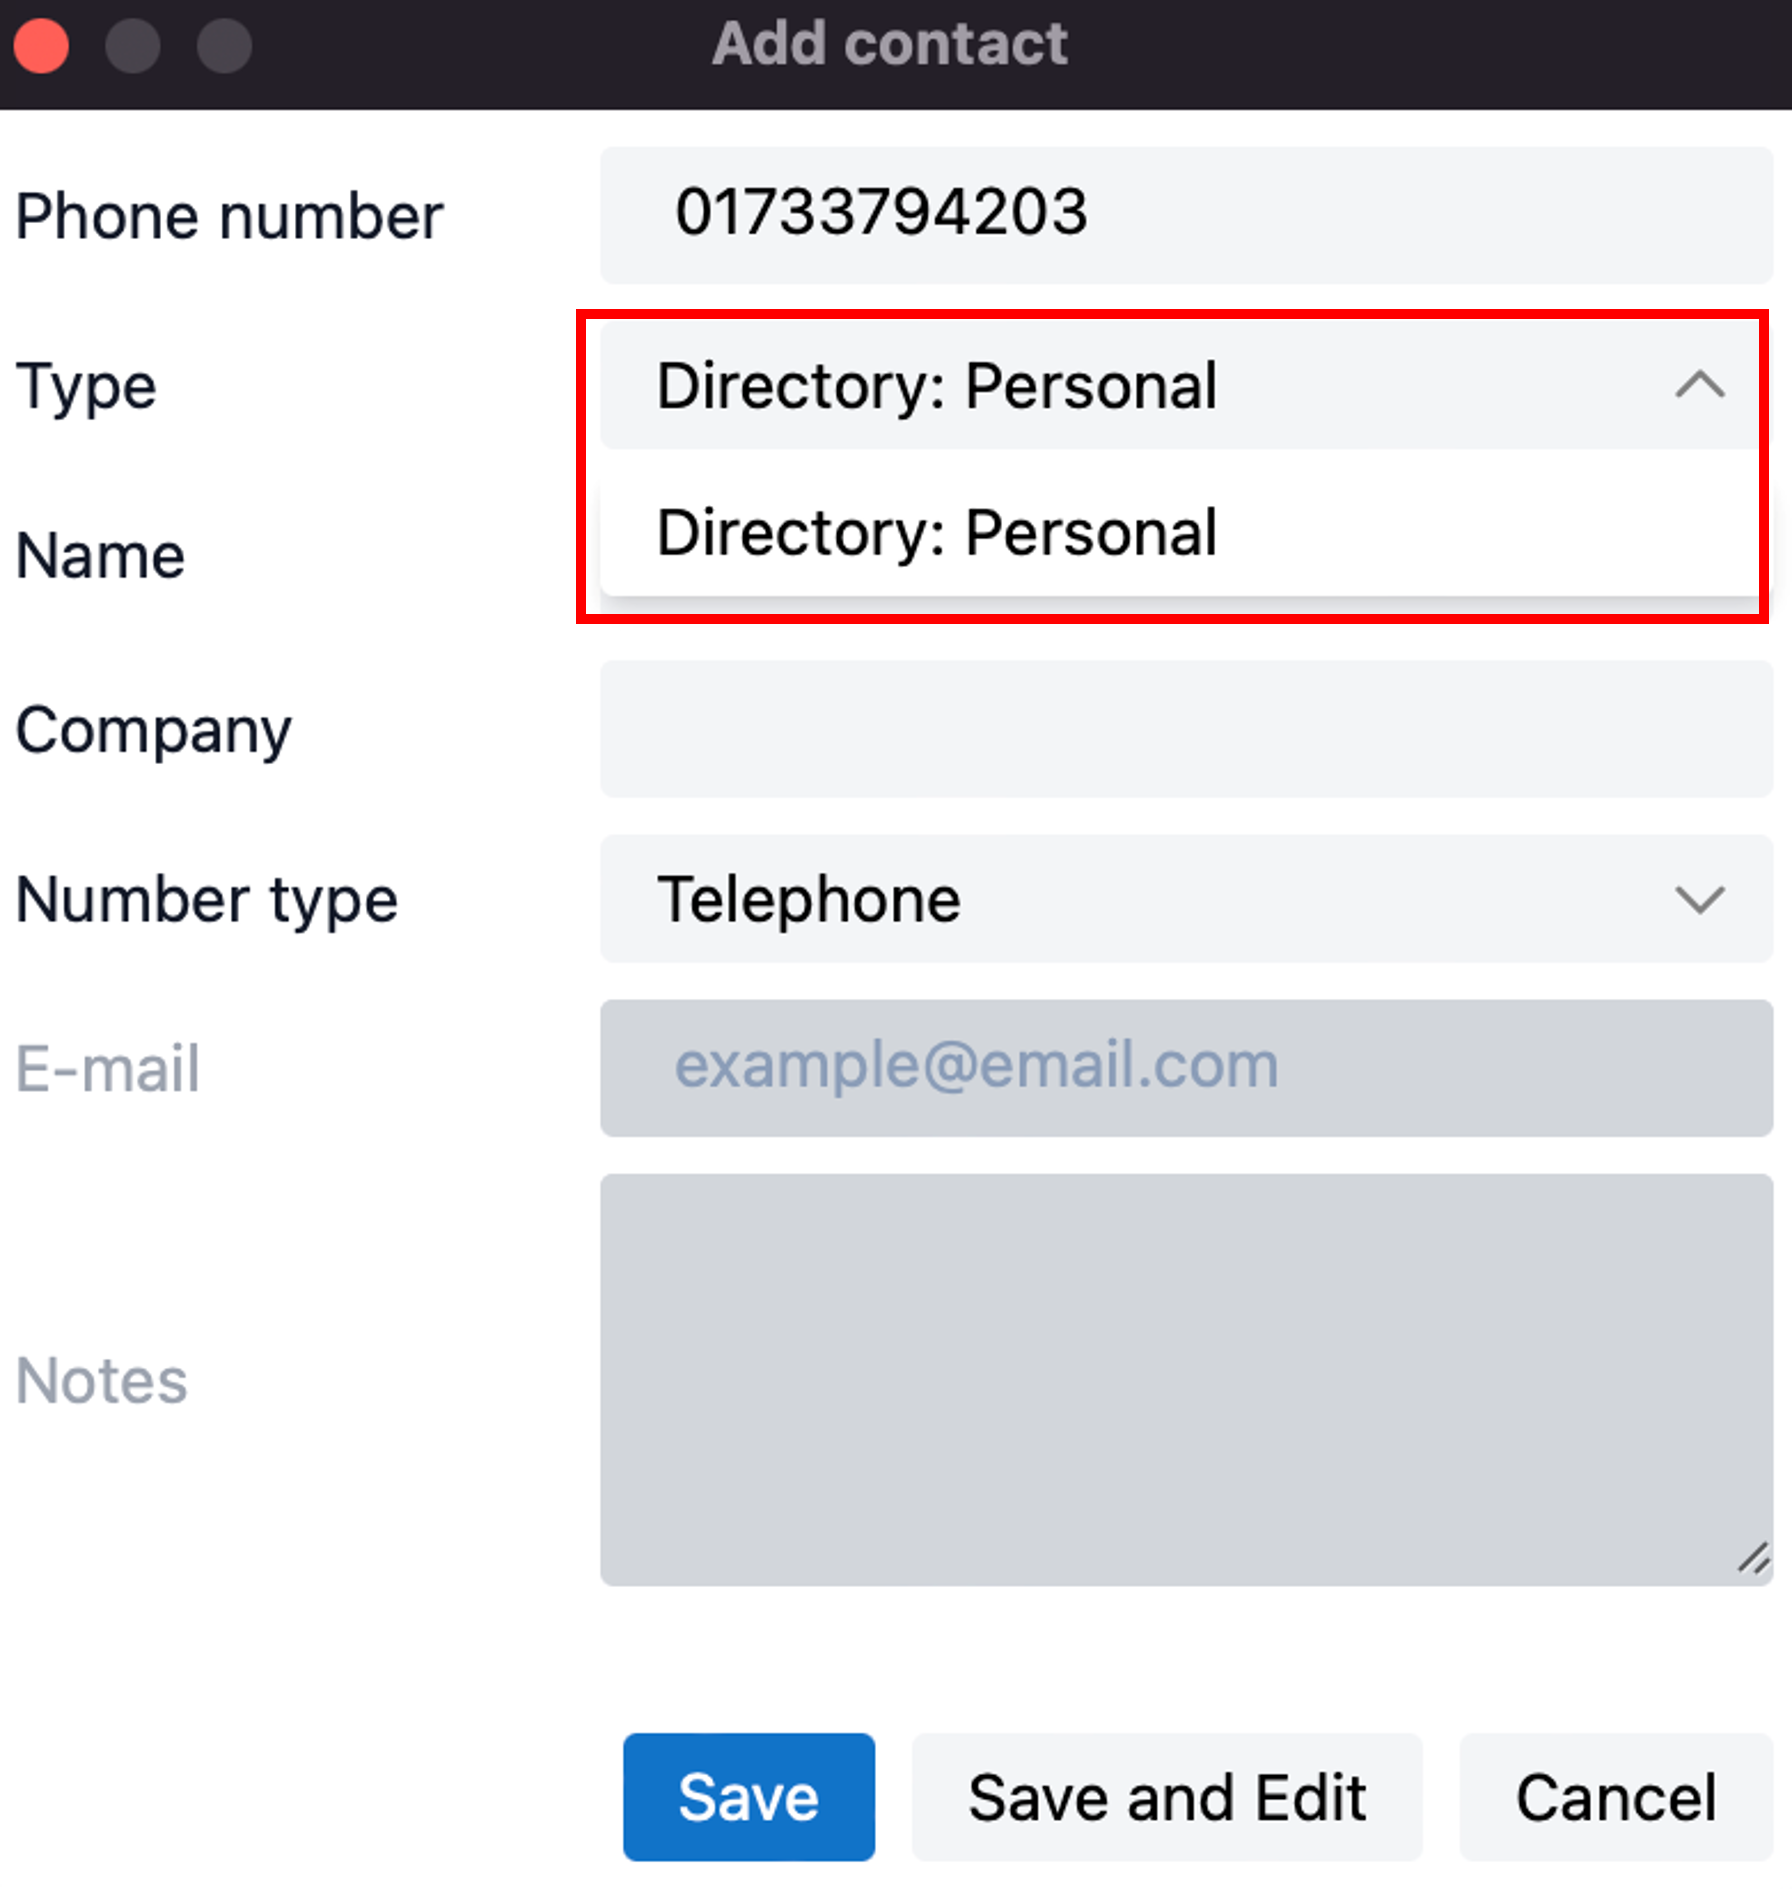
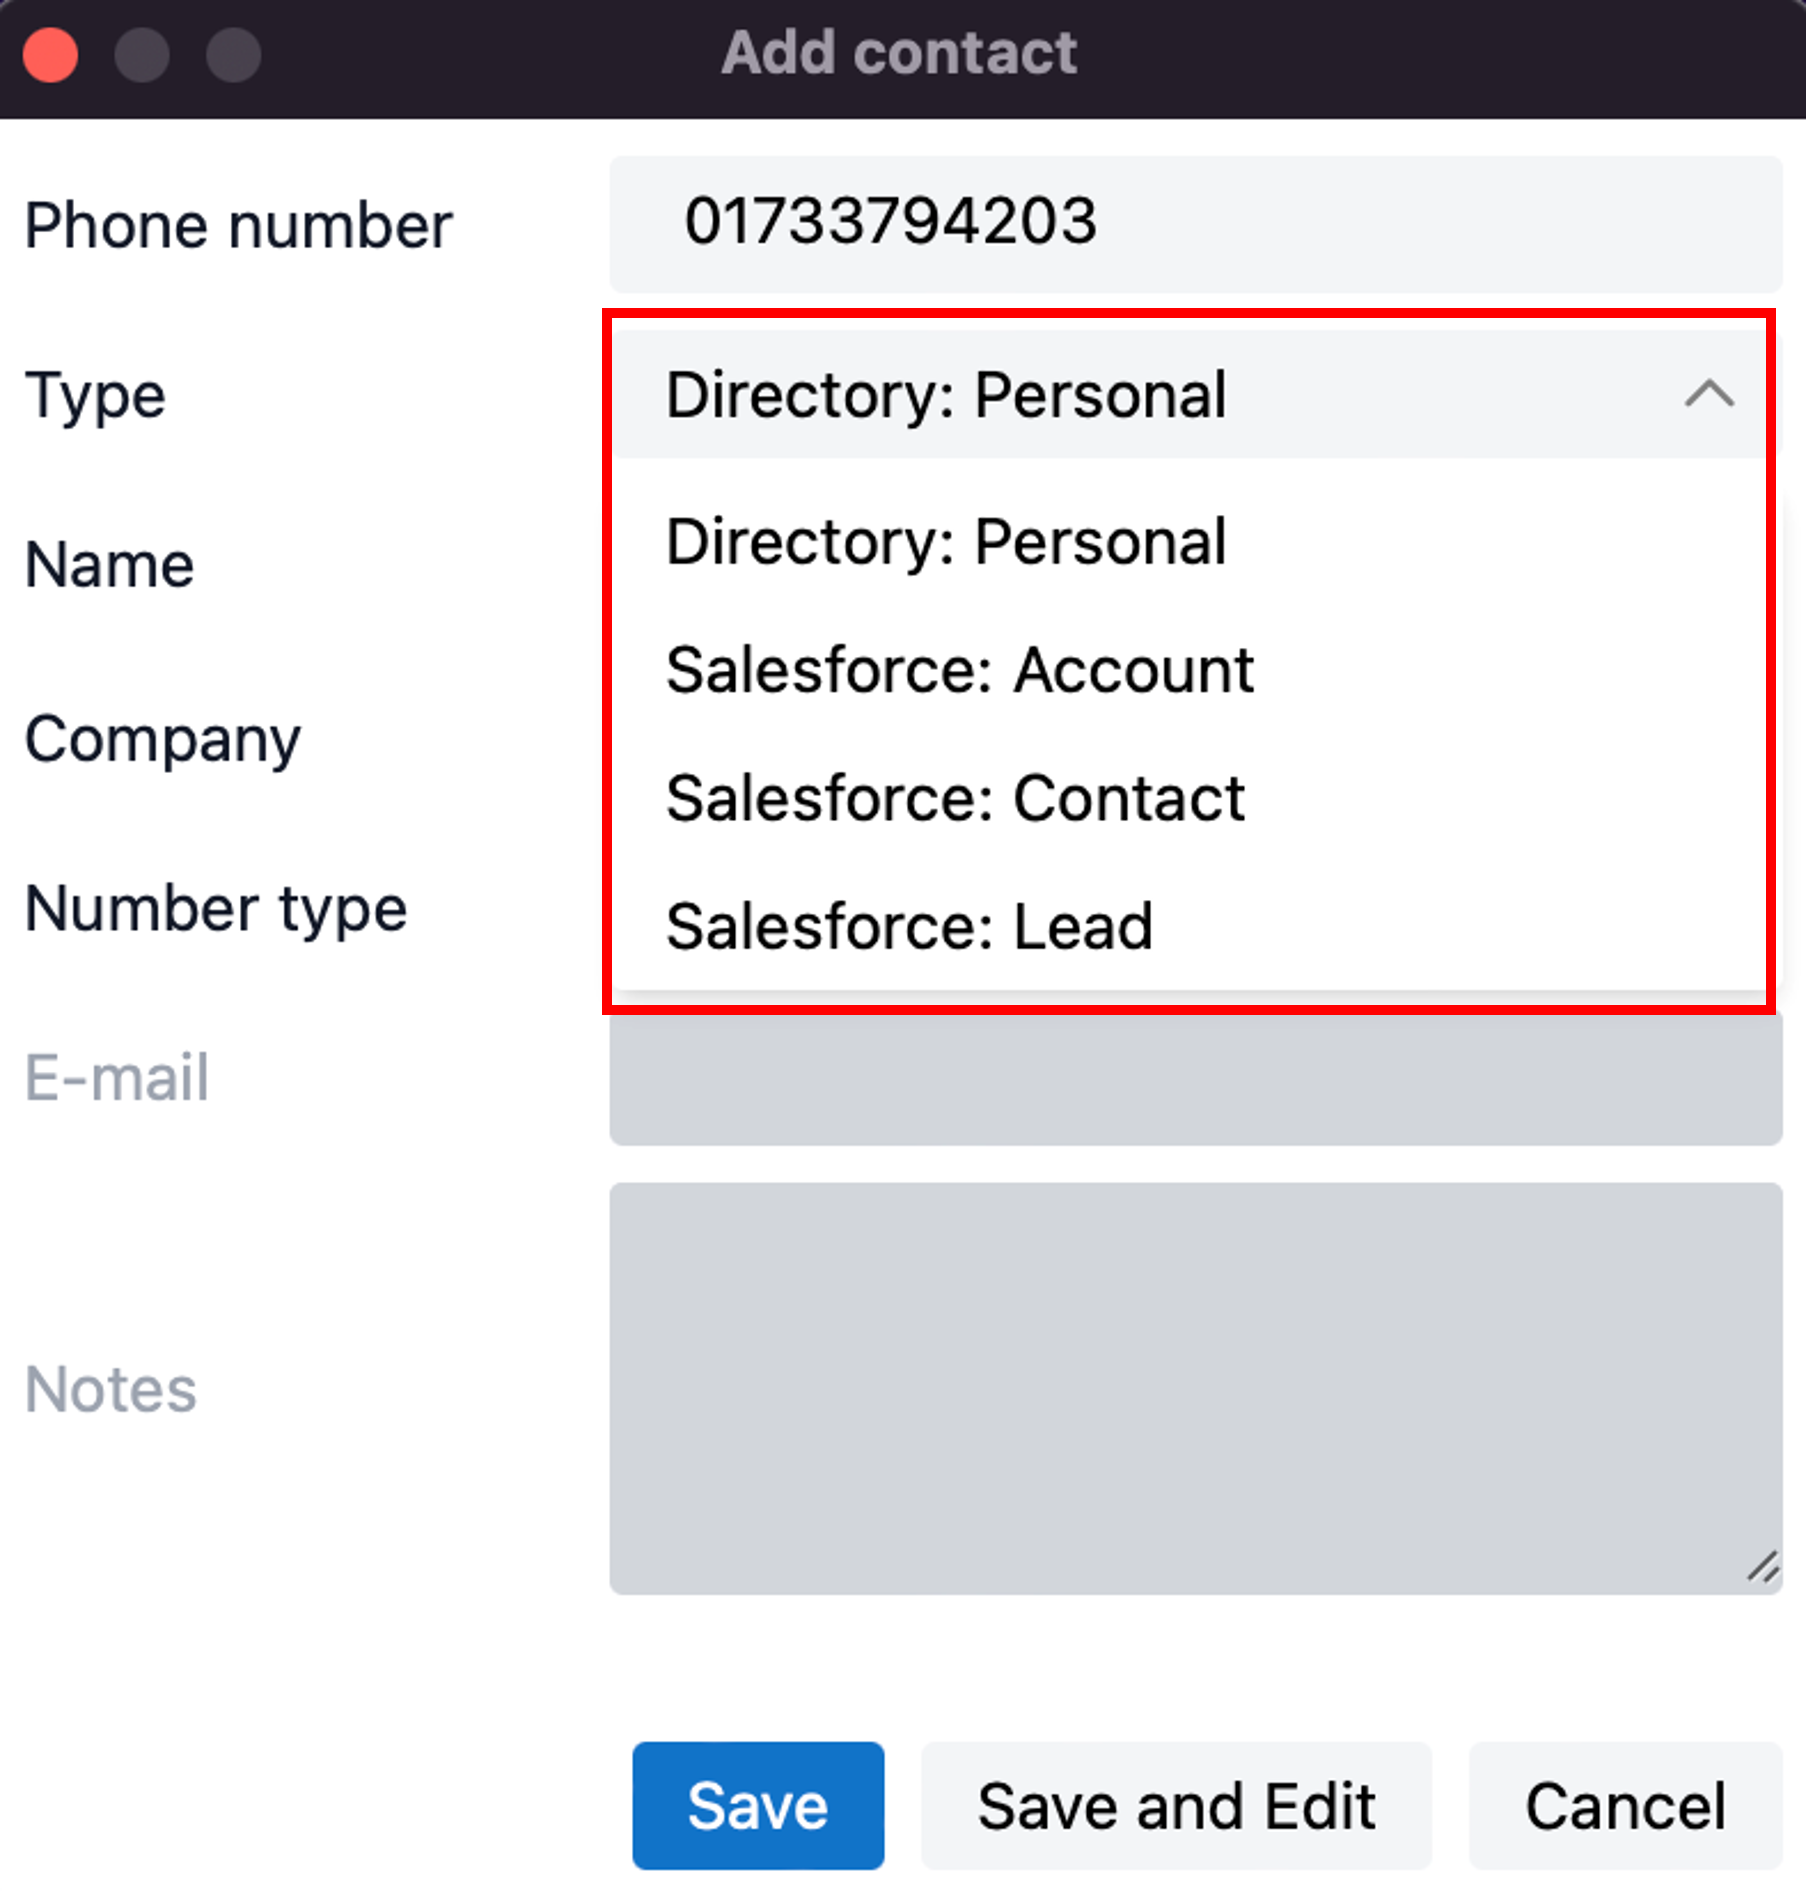
Select which integrated address book "Type" to add the contact into and either "Save" or "Save and Edit" to also open the contact within the selected address book. The stored details are then used to add to the next selected address book "Type" to quickly duplicate the contact record into multiple locations.
Multiple Calls
When multiple parties or calls are in progress, the Preview window will "stack" each call with the currently active call initially at the front:
Clicking on the window header will bring an inactive Preview window to the front and into view:
Note: Selecting another Preview window does not affect the connected call status.
Close Window
Select "x" to close the Preview window:

Note: Closing the Preview window does not end the call
 Report this page